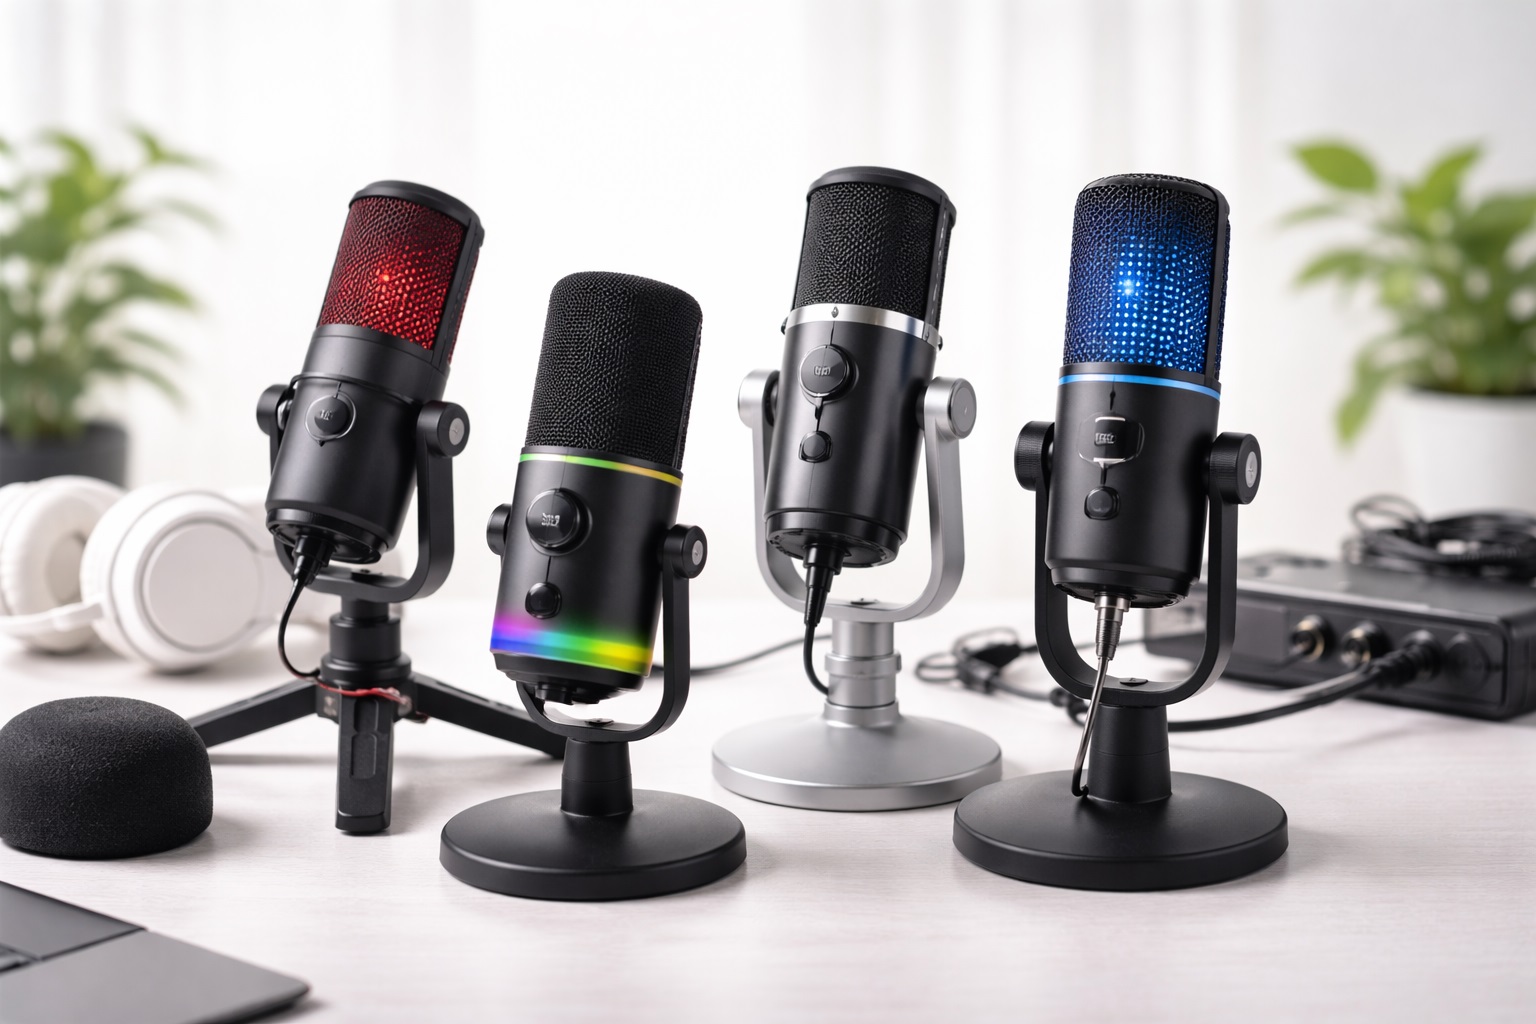
Best Microphones Under $100: Professional Audio at an Accessible Price
The gap between a laptop's built-in microphone and a dedicated USB microphone is one of the more dramatic upgrades available in home office or content creation equipment, and it doesn't require a large budget to access. Under $100, buyers can find genuinely capable USB condenser and dynamic microphones that outperform built-in laptop and webcam audio by a wide margin, without needing to step into the territory of professional studio equipment, audio interfaces, and XLR cabling that serious podcasters and musicians eventually invest in. For the overwhelming majority of remote workers, students, and casual content creators, that more advanced equipment represents a solution to a problem they don't actually have, and a well-chosen microphone in this accessible bracket covers the real need completely.
This price bracket sits at an interesting point in the microphone market. Below roughly $30, most options share similar limitations in sensitivity, build quality, and overall polish regardless of brand. Above $100, pricing increasingly reflects specialized features aimed at professional podcasters, musicians, and streamers whose needs go well beyond clear voice capture for calls and everyday content. Within the middle ground, a careful buyer can access surprisingly capable audio quality, provided they know which specifications actually matter for their intended use. A buyer who understands the difference between a genuinely useful spec and a marketing bullet point aimed at a different audience entirely will consistently outshop someone simply sorting listings by star rating.
Content creators and remote workers shopping in this range are typically trying to move meaningfully past webcam-level audio without paying for features aimed at professional studio production. That framing changes what's worth prioritizing — a cardioid pickup pattern, reasonable self-noise levels, and a solid physical build tend to matter more than elaborate software suites or specifications aimed at multi-track music recording. Understanding this distinction early saves a lot of time comparing listings that technically fit the budget but were designed around an entirely different kind of user.
This guide compares three practical microphone types available under $100, along with the specific factors that separate a genuinely good budget-conscious purchase from one that merely has an impressive-looking specification sheet. Three specific microphone types are reviewed below, each addressing a different real-world recording situation rather than competing purely on raw specifications alone.
Top 3 Microphones Under $100 (Detailed Reviews)
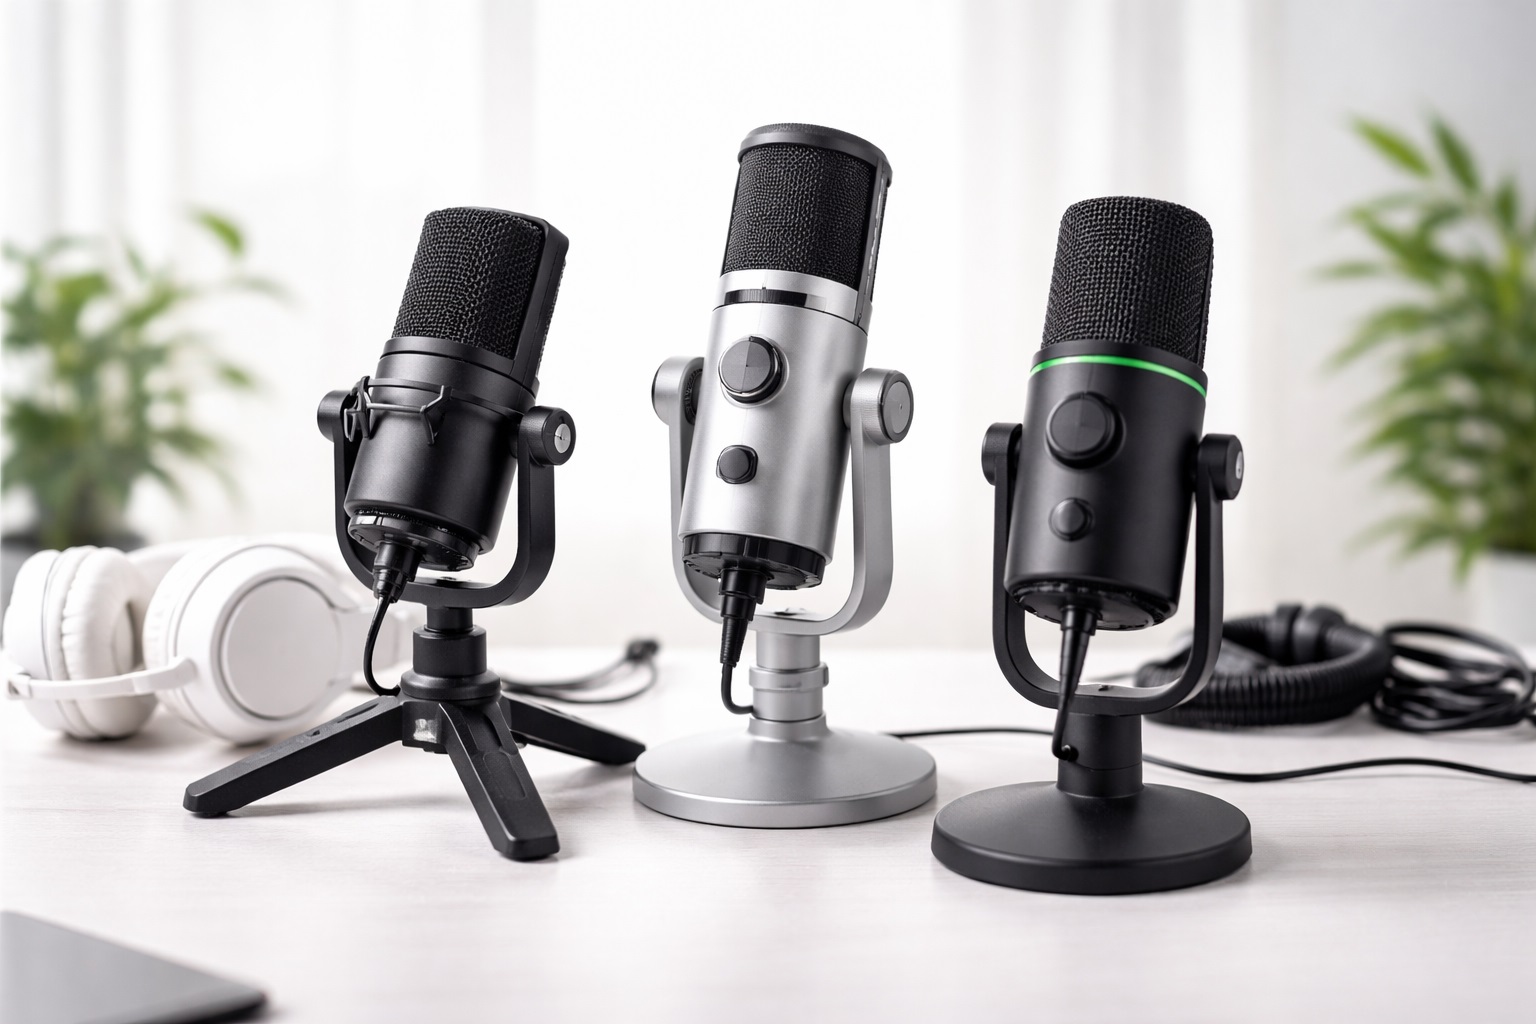
USB Condenser Microphone – Best For Clear Voice Quality on a Budget
USB condenser microphones capture audio with meaningfully higher sensitivity than dynamic mics, which is the primary reason they've become the default recommendation for anyone stepping up from webcam-level audio. They connect directly via USB without requiring a separate audio interface, keeping setup genuinely simple, and a cardioid pickup pattern focuses on the voice directly in front of the mic while rejecting a good amount of room noise from the sides and rear. The mechanical and electronic engineering behind budget condensers has improved substantially in recent years, closing much of the gap that used to separate accessible options from considerably pricier studio equivalents. Manufacturing improvements in capsule design and internal circuitry have driven most of this progress, allowing budget models to inherit design choices that were exclusive to premium products just a handful of years ago.
- Pros:
- High sensitivity captures clear vocal detail well beyond webcam or laptop microphone quality
- Plug-and-play USB connection eliminates the need for an audio interface
- Cardioid pattern rejects a meaningful amount of background noise
- Wide compatibility across Windows, macOS, and most current operating systems
- Cons:
- More sensitive to room acoustics than a dynamic microphone, which matters in untreated spaces
- Requires a reasonably quiet recording environment for the best results
Best For: Content creators, remote workers, and students recording in a reasonably quiet room who want the clearest possible voice quality without paying for professional studio equipment.
Why We Recommend It: A budget USB condenser delivers the single most noticeable audio quality upgrade available at this price point, and for most buyers stepping up from built-in laptop or webcam audio, the improvement is immediately and obviously audible from the very first recording. Friends, colleagues, and viewers often comment on the difference unprompted, which is a stronger signal of a worthwhile purchase than any single specification on a listing page.
Dynamic USB Microphone – Best For Untreated Rooms and Noisy Homes
Dynamic microphones are less sensitive than condensers, which makes them considerably better at rejecting background noise and room reflections — a genuinely useful trait for anyone recording in a busy household, an apartment with thin walls, or a room that hasn't been acoustically treated in any way. They're a practical choice for buyers whose recording environment isn't ideal and can't easily be improved. Modern budget dynamic USB microphones deliver strong, consistent voice quality for calls and content creation without requiring the careful room treatment that condensers benefit from. This makes dynamic microphones a particularly forgiving choice for buyers who don't want to invest additional time or money into acoustic panels, blankets, or other room treatment before they can get usable recordings.
- Pros:
- Less sensitive to background noise and room reflections in untreated spaces
- Performs consistently even in busy households or noisy environments
- Generally more physically durable construction than comparable condenser designs
- Delivers dependable results without requiring careful acoustic treatment
- Cons:
- Captures somewhat less high-frequency detail than a condenser microphone
- Requires closer mic positioning to achieve optimal results
Best For: Buyers whose recording space is genuinely noisy or acoustically untreated, including shared households, apartments, and rooms with hard, reflective surfaces.
Why We Recommend It: When the room itself is the limiting factor rather than the microphone, a dynamic USB microphone's reduced sensitivity to ambient noise and reflections produces noticeably cleaner recordings than a condenser would manage in the same space. It's a case where the objectively "better" specification on paper — higher sensitivity — actually works against the buyer's real-world interests, which is a useful reminder to think in terms of your actual room rather than raw numbers alone.
Clip or Lapel Microphone – Best For Video Calls and Movement
Clip-on lapel microphones attach directly to clothing near the mouth, keeping pickup consistent regardless of how much the speaker moves or turns their head, which is a genuine limitation for a stationary desk microphone. They're particularly useful for video calls, presentations, and any situation where sitting perfectly still and centered in front of a microphone isn't realistic. Most budget USB lapel mics include a reasonably long cable for comfortable connection to a laptop from across a desk or room, giving presenters room to move around during a talk without needing to stay tethered close to their computer.
- Pros:
- Clips near the mouth for consistent voice pickup regardless of head movement
- Reduces background noise pickup through sustained proximity to the mouth
- Requires no desk space or dedicated stand
- Very affordable and highly packable for occasional travel use
- Cons:
- Some audio quality trade-off compared to larger condenser or dynamic microphones
- The clip and cable can be visible on camera during video calls
Best For: Video call users, online teachers, and presenters who move or gesture during calls and need consistent voice pickup without being tied to a fixed desk position.
Why We Recommend It: The proximity advantage of a lapel microphone — staying close to the voice regardless of movement — makes it a genuinely practical choice for anyone whose calls or presentations involve more motion than sitting still at a desk. Teachers, trainers, and anyone regularly presenting to a group tend to appreciate this format specifically because it removes the mental overhead of staying positioned correctly in front of a fixed microphone while trying to focus on the actual content.
Buying Guide: How to Choose the Best Microphone Under $100
1. Pickup Pattern for Solo Recording
Cardioid pattern mics capture sound from directly in front and reject sound from behind, which is the correct default for the overwhelming majority of solo voice recording and video calls. Omnidirectional mics capture all surrounding sound equally, which suits group conference situations but works against clarity for a single speaker in a typical home or office environment. Checking the specific pattern listed for a given microphone, rather than assuming all USB microphones default to cardioid, avoids an easy but consequential mistake for solo recording setups.
2. Dynamic Versus Condenser for Your Specific Room
Condensers are more sensitive and capture more nuance, performing best in quiet, acoustically reasonable spaces. Dynamic microphones sacrifice some detail for significantly better rejection of background noise and room reflections. Buyers with a genuinely noisy or untreated room often get better real-world results from a dynamic microphone than from a more sensitive condenser, despite the condenser's higher specifications on paper. Anyone unsure which category their room falls into can perform a simple test: clap once loudly in the room and listen for how long the sound takes to fully die out — a longer, more noticeable echo suggests a dynamic microphone is the safer choice.
3. Self-Noise Level at This Price Point
This is one of the specifications most easily overlooked by first-time buyers, yet it directly affects how clean a recording sounds during quiet passages. Self-noise is the electronic hiss a microphone adds to a recording even in silence, and it varies more between budget microphones than it does between premium ones. A self-noise rating under roughly 20dB is considered good for voice recording; anything above 30dB can introduce audible hiss during quiet moments. Checking this specification, when listed, is worth the small effort at this price point. Manufacturers who are confident in their self-noise performance tend to list the figure prominently, so its absence from a product description is sometimes a mild signal worth noting.
4. Sampling Rate and Bit Depth for Voice Use
Most USB microphones under $100 record at 48kHz and 16-bit depth, which is more than sufficient for voice recording, calls, and everyday content creation. Higher specifications like 96kHz and 24-bit matter considerably more for music recording than for spoken voice, so there's little reason to pay extra for specifications that won't meaningfully improve your specific use case. Musicians recording instruments alongside vocals are the main audience who genuinely benefit from the higher-end figures, while voice-only content creators can safely treat them as an unnecessary premium.
5. Build Quality Indicators
Physical construction quality is one of the areas where budget microphones vary the most from one brand to the next. A flexible, hollow-feeling chassis is one of the more common ways manufacturers reduce costs at accessible price points. Checking reviews specifically for mentions of chassis flex, loose components, or connector wear gives a more reliable picture of build quality than the listed materials alone, since marketing descriptions don't always match the actual feel of the product. A microphone that feels solid and well-assembled straight out of the box is a reasonably strong indicator that it will continue feeling that way after months of regular handling and use.
6. Gain Control Availability
A physical gain knob lets you adjust input sensitivity directly at the microphone, which is useful for preventing clipping when speaking loudly and reducing background noise pickup without digging through software settings. Not every budget microphone includes physical gain control, with some relying entirely on software adjustment instead, which is a reasonable but slightly less convenient alternative. For anyone who frequently records at different volume levels — sometimes quiet, sometimes louder — a physical gain knob within easy reach makes real-time adjustment far simpler than pausing to open a settings menu.
7. Mounting and Stand Compatibility
Most microphones in this price range include a basic desk stand adequate for casual use. Check whether the microphone uses a standard 5/8-inch thread mount if you plan to eventually upgrade to a boom arm, since most third-party boom arms are built around this standard and a non-standard thread limits your future mounting options. Adapters exist for some non-standard threads, but they add cost and complexity that a standard-thread microphone avoids entirely from the start.
8. Shock Mount Compatibility for Desk Vibration
A shock mount isolates the microphone from desk vibrations, keyboard noise, and accidental bumps that would otherwise transmit through the stand directly into the recording. Some budget microphones include a basic shock mount; others make it available as an inexpensive separate accessory, which is worth checking if your desk sees regular typing or other vibration sources. Even something as ordinary as tapping a foot under the desk or a housemate walking past can transmit through a shared desk into an unshocked microphone mount and show up faintly in a recording.
9. Warranty Length as a Confidence Signal
Warranty length correlates reasonably well with how confident a manufacturer is in their own product's durability. A standard one-year warranty is typical at this price point, but some manufacturers extend coverage further, which is a meaningful signal worth factoring into a decision between two otherwise similar options. It costs a manufacturer very little to offer a longer warranty if their internal testing already suggests strong long-term reliability, so extended coverage is a reasonably honest signal rather than pure marketing.
10. Software and Companion App Requirements
Some budget microphones require a manufacturer's companion app to access full functionality like gain adjustment or monitoring mix control. Check whether this software is genuinely necessary or simply a nice-to-have extra, particularly if you plan to use the microphone across multiple devices where installing additional software each time would be inconvenient. A microphone that works well with its default hardware settings alone, without requiring software at all, is generally the more flexible choice for a varied or shared computing setup.
11. Return Policy Given Variable Budget Quality Control
Quality control tends to be somewhat less consistent at accessible price points than at premium tiers, making a solid return policy genuinely more important here. Verify the seller's specific return window and condition requirements before purchasing, especially when buying from a third-party marketplace seller rather than directly from the manufacturer. Saving a screenshot of the specific policy at the time of purchase avoids any ambiguity if the listed terms change or are interpreted differently by customer support later on.
12. Price-to-Performance Across the Full Range
Not every microphone priced near the $100 ceiling delivers proportionally better performance than one priced at $40 or $60 — sometimes the added cost reflects brand premium rather than a genuine improvement in audio quality. Comparing a handful of options across the full price range, rather than assuming higher price consistently means better sound, helps avoid overspending within this bracket. Spending twenty minutes comparing a handful of specific candidates against self-noise, build quality, and verified reviews consistently produces a better outcome than defaulting to the most expensive option available under the ceiling.
Frequently Asked Questions
1. Do I need a microphone stand or boom arm for a microphone under $100?
Most USB microphones include a basic desk stand adequate for calls and casual content creation. A boom arm provides more precise positioning and removes the mic from the desk surface, reducing vibration pickup, and is worth the modest additional investment for anyone doing more frequent or serious recording. A boom arm also frees up desk space compared to a fixed vertical stand, which becomes more valuable the more crowded your desk already is with a laptop, monitor, and other accessories.
2. Will my microphone under $100 work on Zoom, Teams, and Google Meet?
Yes. USB microphones are recognized by all major video conferencing platforms as standard audio input devices without requiring special drivers or plugins. Simply select the microphone as the audio input in your meeting application's audio settings, and it should work immediately. If it doesn't show up right away, unplugging and reconnecting the USB cable or restarting the application usually resolves the rare recognition issue.
3. How close should I sit to a budget microphone for the best results?
For most USB condenser microphones in this price range, 6 to 12 inches from the microphone at a slight angle rather than directly in front provides the best balance of clarity and reduced plosive popping. Closer positioning increases bass response and helps reject background noise in louder environments. Experimenting with distance across a few short test recordings before committing to a permanent setup is a quick way to find the sweet spot for your specific voice and microphone.
4. Does the recording room matter more for a budget microphone?
Yes, arguably more than for a premium one, since budget condensers often lack the more sophisticated internal noise handling found in pricier models. A condenser microphone in a hard-walled, reflective room will sound noticeably worse than the same microphone in a room with soft furnishings that absorb echo, so treating the room, even minimally, meaningfully improves results. Hanging a couple of thick blankets, adding a rug, or simply recording in a room with curtains and soft furniture rather than bare walls can noticeably reduce echo without spending anything on dedicated acoustic panels.
5. Can one microphone under $100 handle both streaming and calls?
Yes. A USB cardioid microphone in this price range serves both purposes well. For streaming, you may want to adjust gain and positioning specifically for your broadcast software, while for calls, simply selecting the microphone as your audio input is sufficient without further adjustment. Keeping a saved gain preset for each use case, where the microphone's software supports it, saves the hassle of readjusting settings every time you switch between the two activities.
6. Is the most expensive microphone under $100 always the best?
Not necessarily. Higher price often means more features, but many mid-range options within this bracket offer excellent performance for everyday calls and content creation. Focus on the features that matter for your specific recording environment rather than assuming price alone predicts quality. A mid-priced dynamic microphone in a noisy apartment will often outperform a pricier condenser used in the exact same space, simply because the microphone type matches the environment better.
7. How long should a quality microphone under $100 last?
A well-built product from a reputable brand typically lasts two to five years or longer with reasonable care. Cables and connectors are usually the first components to show wear, so checking whether replacements are readily available is a sensible additional consideration. A microphone using a standard USB cable, rather than a proprietary connector, is generally easier and cheaper to keep running for the long haul.
8. Can I return a microphone under $100 if it doesn't suit me?
Most retailers offer a 15 to 30 day return window. Keep the original packaging during your evaluation period, and test the microphone in your actual intended recording environment before the window closes to properly judge its real-world performance. Recording a short sample at the same time of day and in the same room you'll actually use it in gives a far more honest impression than a quick test recorded under ideal conditions.
9. What is the best microphone under $100 for content creators who want USB quality above webcam level without a high budget?
A USB condenser microphone from an established brand, chosen based on verified reviews and self-noise specifications rather than price alone, typically delivers the clearest step up from webcam-level audio within this budget range. Prioritizing a quiet recording space to match, even a modest closet or a corner with soft furnishings, meaningfully amplifies the benefit of the upgrade.
10. Does brand name matter when choosing a microphone under $100?
Established brands generally offer better quality control, customer support, and warranty reliability, which matters more at accessible price points where manufacturing shortcuts are somewhat more common. However, newer brands sometimes offer excellent value — read verified reviews carefully before purchasing, particularly reviews that specifically discuss performance after months of regular use rather than a first-week impression alone.
11. Is a USB microphone under $100 good enough for podcasting?
For most solo or small podcast setups, yes. A quality USB condenser or dynamic microphone in this price range delivers audio quality that satisfies the vast majority of podcast listeners, particularly compared to the built-in laptop microphone many new podcasters start with.
12. What's the biggest mistake buyers make shopping for a microphone under $100?
Choosing based on price or brand recognition alone rather than matching the specific microphone type to the actual recording environment. A condenser purchased for a noisy, untreated room will consistently underperform a dynamic microphone in the same space, regardless of how the two compare on paper. It's a mistake that's easy to make when comparing listings purely on a specifications table, since a table has no way of representing the specific acoustics of your actual room, which ultimately matters more than any single number on the page.
Final Verdict
- Best Overall for Clear Voice Quality: USB Condenser Microphone – the clearest audio quality upgrade for buyers recording in a reasonably quiet space.
- Best for Noisy or Untreated Rooms: Dynamic USB Microphone – the most reliable choice when the recording environment itself is the limiting factor.
- Best for Video Calls and Movement: Clip or Lapel Microphone – the practical choice for anyone who moves or gestures during calls and presentations.
Shopping for a microphone under $100 rewards buyers who think honestly about their actual recording environment before comparing specific models — a quiet home office, a noisy shared apartment, and a desk where you move around constantly all call for a genuinely different recommendation, even though all three situations technically fall under the same budget. Matching the microphone type to your real conditions, rather than picking whichever option has the most impressive specification sheet, is what separates a satisfying upgrade from webcam audio from one that leaves you wondering why the improvement wasn't more noticeable. Spend a few minutes honestly assessing your actual room, your typical recording posture, and how often you genuinely need to move around while speaking, and the right category among the three reviewed here becomes considerably easier to identify than trying to compare every available listing by price and star rating alone.